Installing the Lotus Notes Gateway
Before installing the FaxPress Lotus Notes Gateway, make sure:
| ■ | you’ve thoroughly reviewed Preparing for the Installation |
| ■ | you’ve installed the Domino/FaxPress Server Integration script according to either Integration Script Setup for Standard Mail Templates or Integration Script Setup for Non-Standard Mail Templates. |
| ■ | to review Using the Gateway without the Integration Script if you’ve decided to use the Gateway without installing the Domino/FaxPress Server Integration script. |
Next, disable all anti-virus programs running on the workstation and close all Windows applications. Confirm the workstation you’re using has the FaxPress client installed and operational. To install the Lotus Notes Gateway software, follow these steps:
| 1. | Log on with Administrator or equivalent privileges. |
| 2. | Place the Castelle FaxPress CD-ROM in your client machine’s CD-ROM drive. The Castelle FaxPress Setup will launch automatically. (If setup does not launch automatically, select Start>Run, then type CD-Drive- Place the Castelle FaxPress CD-ROM in your client machine’s CD-ROM drive. The Castelle FaxPress Setup screen will launch automatically. (If Autorun is disabled on your machine, and setup does not launch automatically, select Start>Run, then type CD-Drive-Letter:\autorun.exe and click OK.) |
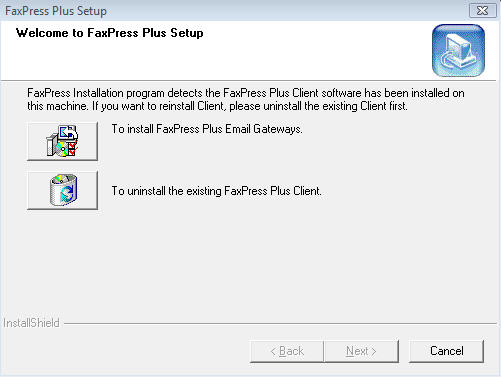
The Castelle FaxPress Plus Setup screen appears.
| 3. | Select To install FaxPress Plus Email Gateways. |
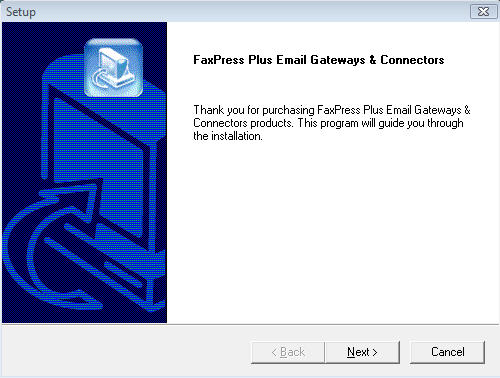
| 4. | The Welcome to FaxPress Installation screen requires you to click the Next> button. |
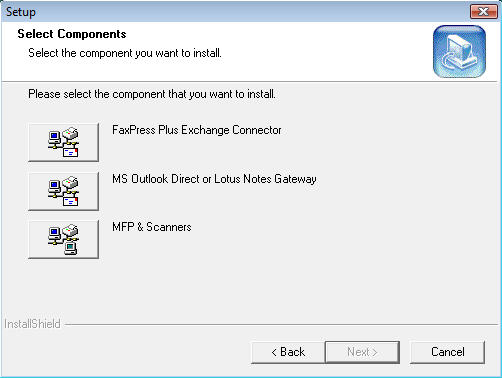
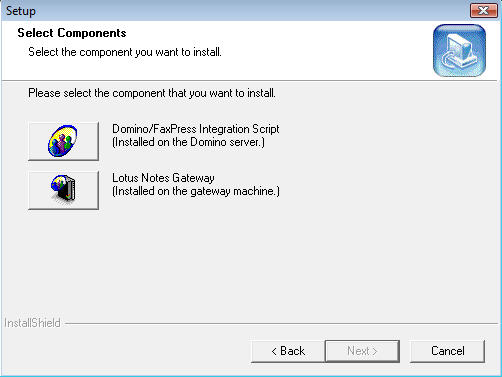
| 5. | The Select Components screen appears. Select MS Outlook Direct or Lotus Notes Gateway. |
| 6. | Select Lotus Notes Gateway. |
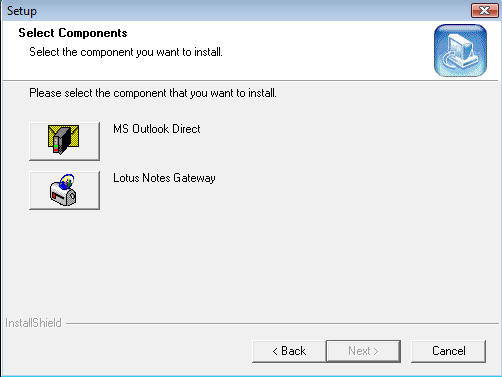
| 7. | Click the Lotus Notes Gateway option. Another Select Components screen appears. |
| 8. | The User Account Information screen requires you to enter the name and password of the service account the Gateway will use for network access. |
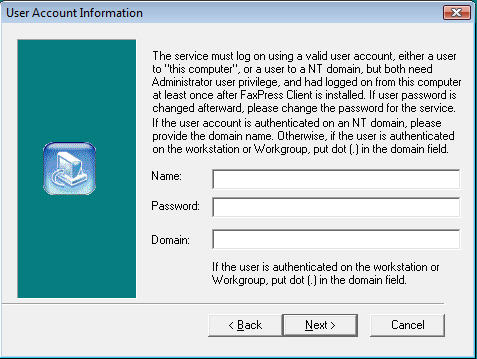
This user account must have administrative rights on the workstation where the FaxPress server software is installed. The workstation’s default Administrator account for the Lotus Notes Gateway is recommended for this purpose.
If, however, you don’t want to use the default Administrator account for the Lotus Notes Gateway service, you must create or designate an account with Administrator privileges for the Lotus Notes Gateway’s use. Make sure to use this Administrator account to install any applications the FaxPress Lotus Notes Gateway will use to convert attachment files to faxable format.
Assigning the Lotus Notes Gateway a Windows NT/2000 account that lacks full administrative permissions to the Lotus Notes Gateway workstation will cause the Lotus Notes Gateway service to fail. See Preparing the Gateway’s Service Account for more information.
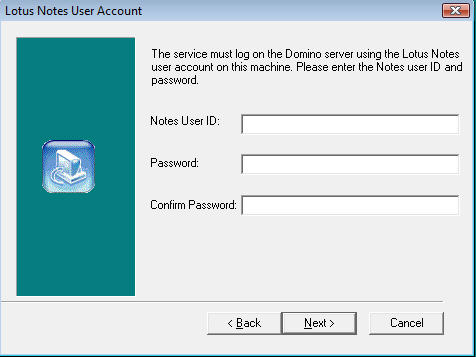
| 9. | The Lotus Notes User Account requires you to dedicate a Notes account the Gateway will use to log onto the Domino server. The FaxPress Lotus Notes Gateway requires a Notes client account to use to log on to the Domino server. This client account must have the ability to connect to both the Domino server and the mail database. This client account must be created and ready before running the Domino Server setup and Gateway installation. |
The dedicated Lotus Notes client software installed on the Gateway workstation cannot:
| ■ | be used to log into any Notes account other than the account created specifically for the FaxPress Lotus Notes Gateway. |
| ■ | be used for any purpose other than logging onto the Lotus Notes Gateway. |
Using the Lotus Notes Gateway’s Notes client software for either of these two purposes will cause the Lotus Notes Gateway service to either temporarily cease functioning or to fail entirely. See Preparing the Gateway’s Client Account for more information.
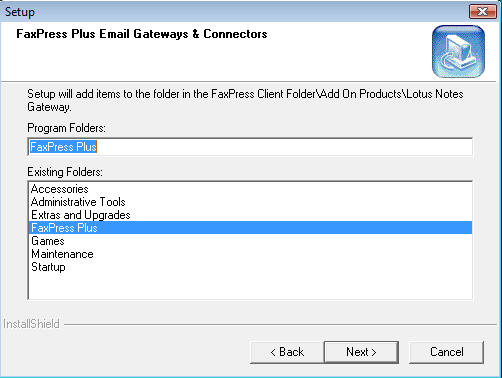
| 10. | Setup will copy the Lotus Notes Gateway files to the existing FaxPress folder. Click Next>. |
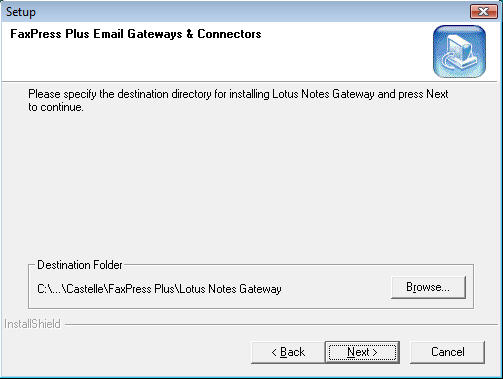
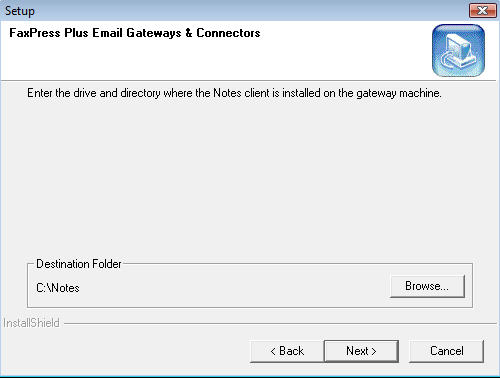
| 11. | The Destination Folder screen requires you to specify the location of the Notes client folder. Setup will not automatically detect the folder’s location. Browse to the Notes client folder location, then click Next>. Setup will now begin copying files. |
| 12. | When a dialog box appears, asking if you want to install another Add On product, click No. |
| 13. | Once the files are copied, click Finish. |
| 14. | Click Exit to close the Castelle FaxPress Setup screen. |
|
FaxPress Premier WebHelp
Last Updated: 11/1/2007
E-mail this page |
Castelle 855 Jarvis Drive, Suite 100 Morgan Hill, CA 95037 Toll-free 800.289.7555 Tel 408.852.8000 Fax 408.852.8100 |